Menu overview
Analytics
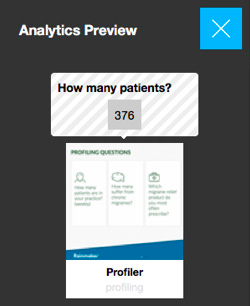
Clicking Analytics on the floating menu opens the Analytics Preview panel. This will allow you to see what content-related data will be captured in its present version.
The list is reversed so that the latest event is on top. It is cleared on every refresh.
Edit
Clicking Edit on the floating menu puts the current slide on view into edit mode, allowing it to be changed. An edit bar is displayed at the foot of the screen:

Slide editor
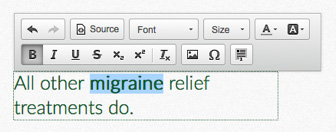
Clicking Edit on the floating the menu, or CTRL+E on the keyboard, allows the editable text fields created for the slide to be changed. Double-clicking on the text to change makes it editable and displays the text formatter:
Slide components
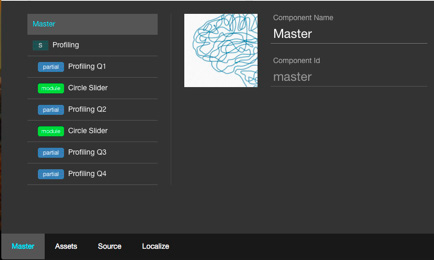
A slide can be made up of many components, e.g., modules and partials (embedded slides). When you open up the editor bar, the active component will be listed to the left. Clicking any element in the slide will update the component selection to where the element belongs. By clicking the tab you’ll see all components available on the slide as well as a “Master” option. Clicking a component in this list will select its element:
Slide assets
Clicking the Assets tab on the edit bar will list any assets found in the source files of the slide, including all components:
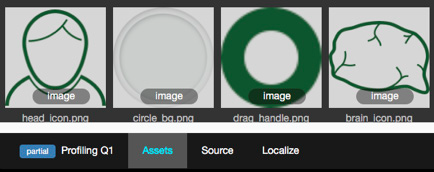
Clicking an asset item in the list will open up a preview of the asset. In this preview it is possible to drag and drop a replacement file from the computer. If file is successfully uploaded the asset in preview will update.
- Clicking Cancel will take you back to the slide without updating the asset.
- Clicking Save will replace the asset and take you back to the slide.
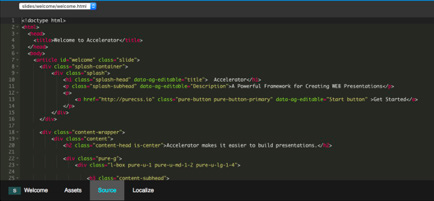
Slide source
The Source tab will open a text editor that will allow you to edit the source code of the currently selected component:
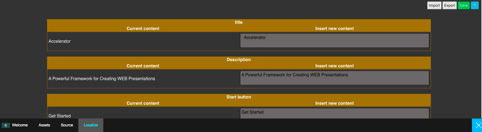
Localize – editing, importing and exporting translations
The Localize tab serves numerous functions. It can be used to edit all the text on a slide without using the in-line editor as described in 15.4.1 above, in a simple tabular format. It can also be used to export the text of a slide to a .csv file. This file will contain the current content (i.e., the original text). A translator can then easily localize the content by translating each text section in a slide and adding it to the corresponding cell in the .csv file. Once this is done, the .csv can be imported to the slide by clicking on the import button and selecting the .csv.
Storyboard
All the slides in your content can be arranged into different orders called storyboards. The Storyboard Editor is reached by clicking Storyboard in the floating menu. Once open, it will display the structure of the current storyboard loaded. Other storyboards can be loaded and edited by clicking the blue square button in the top left corner:

Within a storyboard chapters and slides can be reordered by dragging and dropping. Chapters and slides can be removed (but not deleted) from the storyboard. It is possible to add existing slides to the storyboard, either in a new column or below an existing slide, using the Add slide and Add nested slide buttons respectively:

Sharing slides
Slides and groups of slides in a storyboard can be shared in other channels, for example a microsite. To make content shareable, select the slide and then click on the Shareable button in the bottom right corner of the screen. Remember to activate Provisioning in the modules being used (see “11. Modules”).
You also need to enable this in Shareables and Updates afterwards.
