Uploading content
Users with the Creator role have the right to upload new content items to the Mobilizer. Uploading new content requires two steps:
- Creating a content placeholder in Mobilizer
- Uploading the content to the placeholder
Creating a placeholder
A content placeholder is a repository where content can be uploaded. To create a new content placeholder, click the + button in the upper-right corner of the screen, then select the type of content you wish to add:

This will open a modal window:
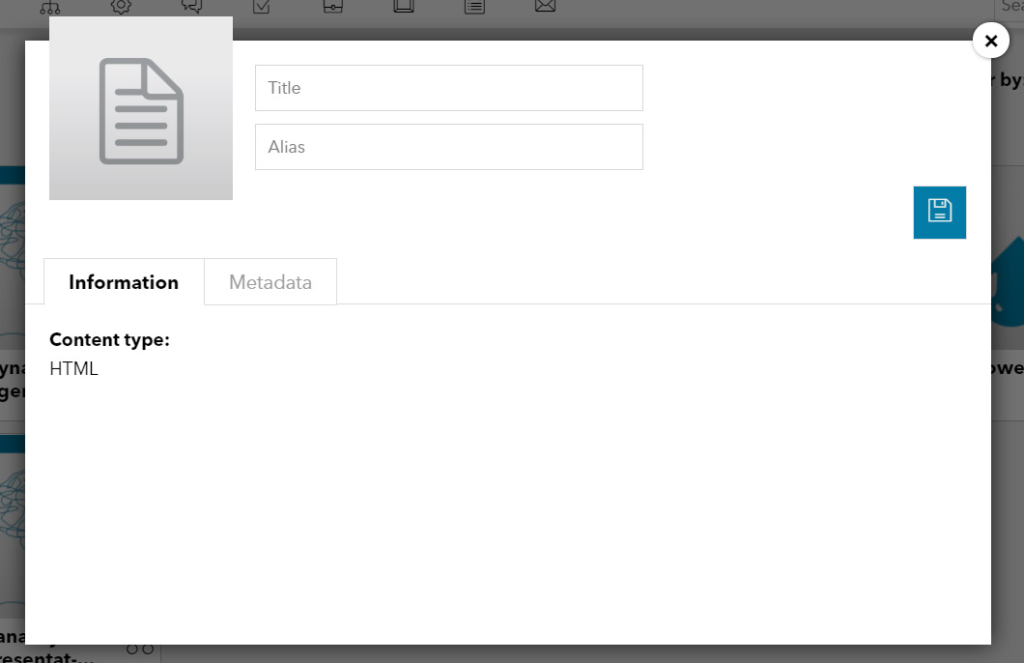
Add the title, any alias you wish to give the content. Click on the metadata tab and add the desired tags. Remember: these must match the tags that the required users have, to ensure they have access to the content.
Finally, click the Save icon. On the content overview you can now see your new content.
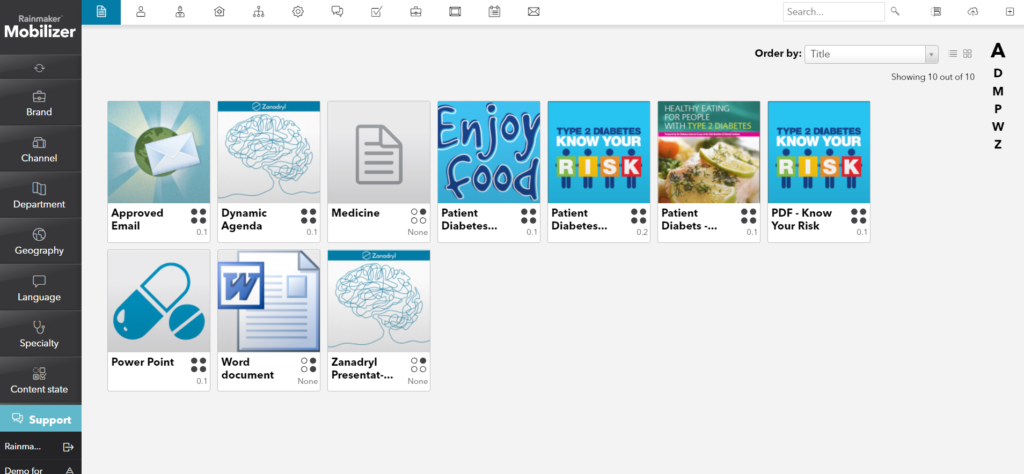
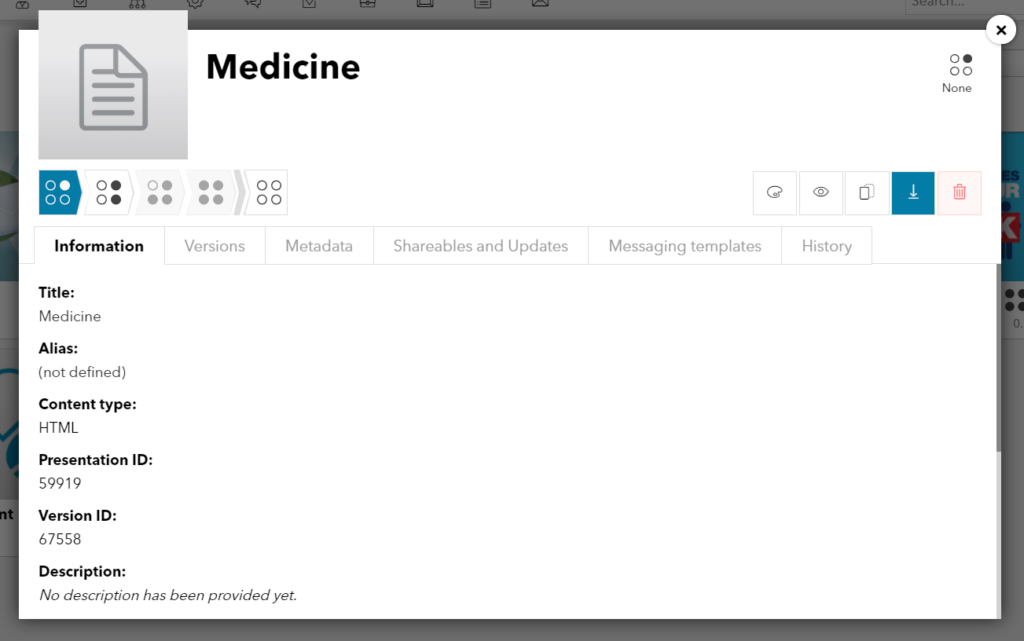
If you click on your newly created content, a number of new actions and views will be available:
Uploading content to the placeholder
Once the placeholder has been created in Mobilizer, you need to upload your content. Content files must be zipped. Open the placeholder and click on the Design button:

This will open new window. Click on the upload button then drag your zipped content files into the Upload zone:
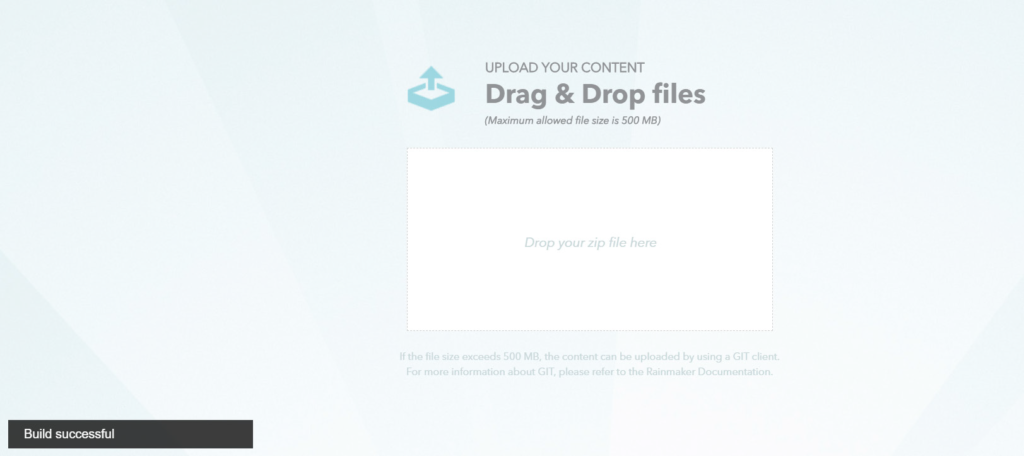
The upload window will be different depending on the type of content. For HTML5 content, drop and drag directly to the window. For all other content, click on the upload button then drag your zipped content files into the upload zone.

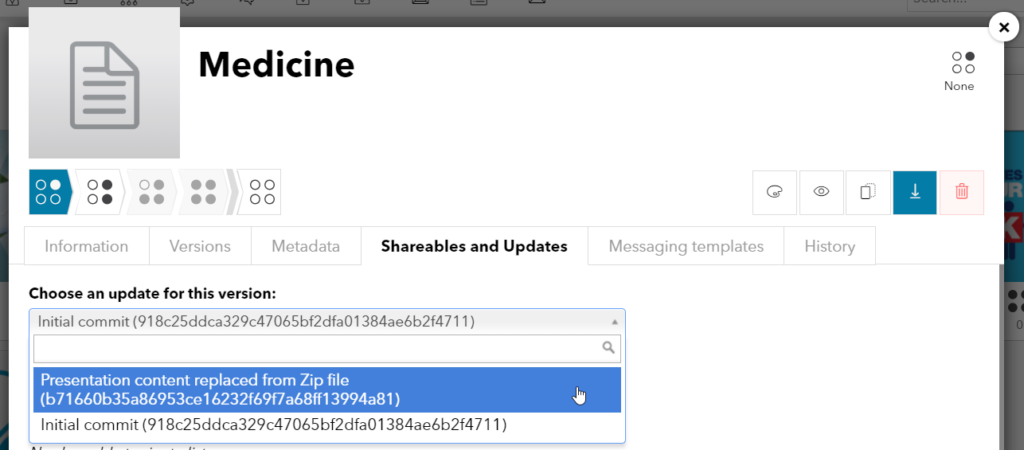
The content will then upload and a thumbnail will be added. Return to the Content modal window and refresh your browser. Go to the Shareables and Updates tab and select the zip you just added from the Choose an update for this version dropdown. Then click Save.
Note: Content exceeding 500mb must be uploaded via GIT. You can find a step-by step guide on how to upload data on our support Help Center on support.agnitio.com in the FAQ section.
